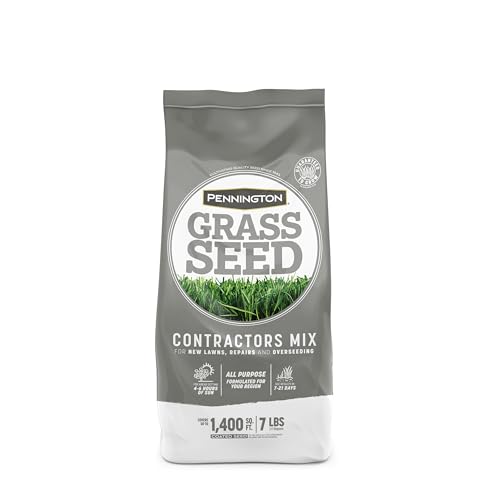
Best Grass Seed for Northern Indiana: Achieve a Lush Lawn Effortlessly
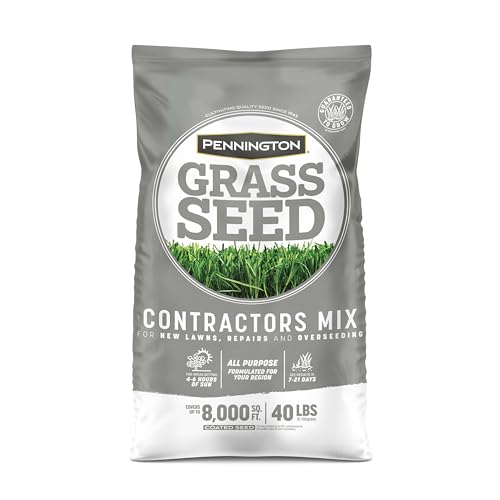
Choosing the right grass seed is crucial for a lush lawn in northern indiana. Climate and soil conditions play a big role. Northern indiana’s climate can challenge lawn growth, but with the right grass seed, a vibrant lawn is achievable. The region experiences cold winters and warm summers, making it essential to select grass types … Read more